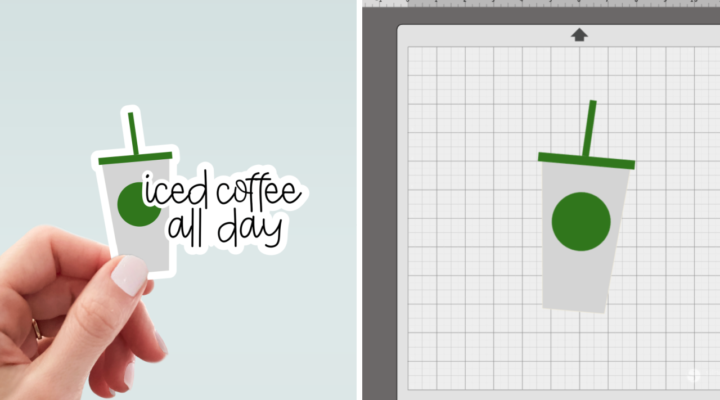
Tutorial: How to Draw a Coffee Cup
Back to: Free Tutorials
If drawing unique elements in your designs holds you back from creating – I’m here to tell you that you can draw simple illustrations to add flair and uniqueness to your design.
Today, let’s tackle a coffee cup.
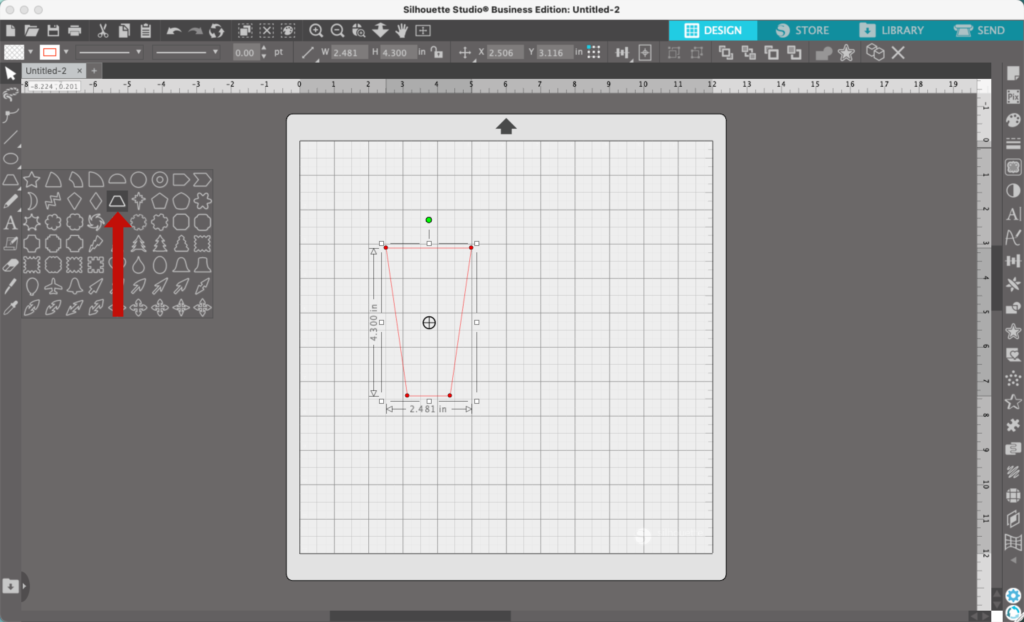
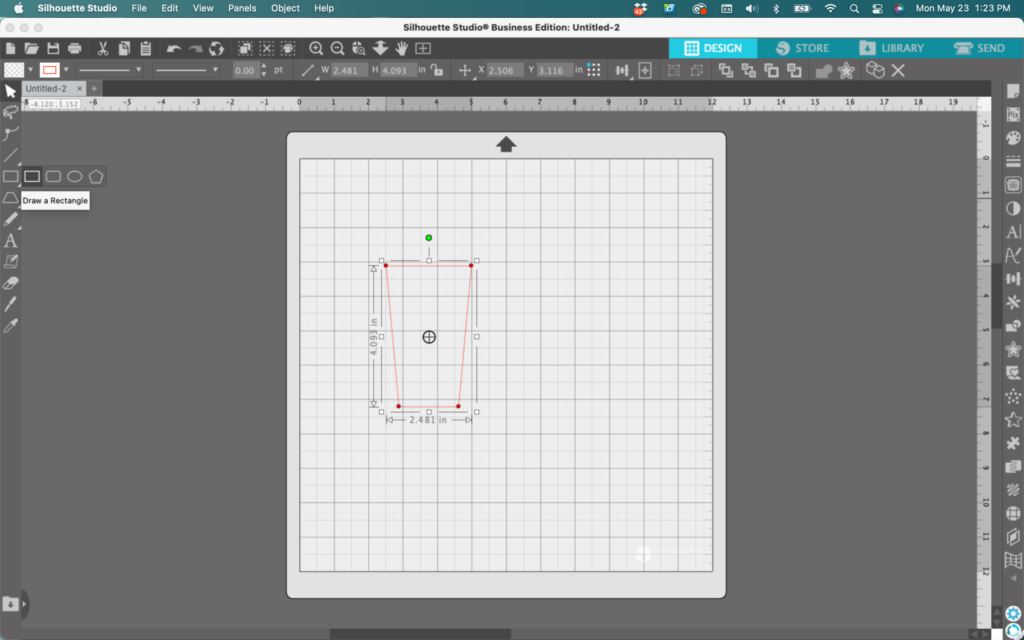
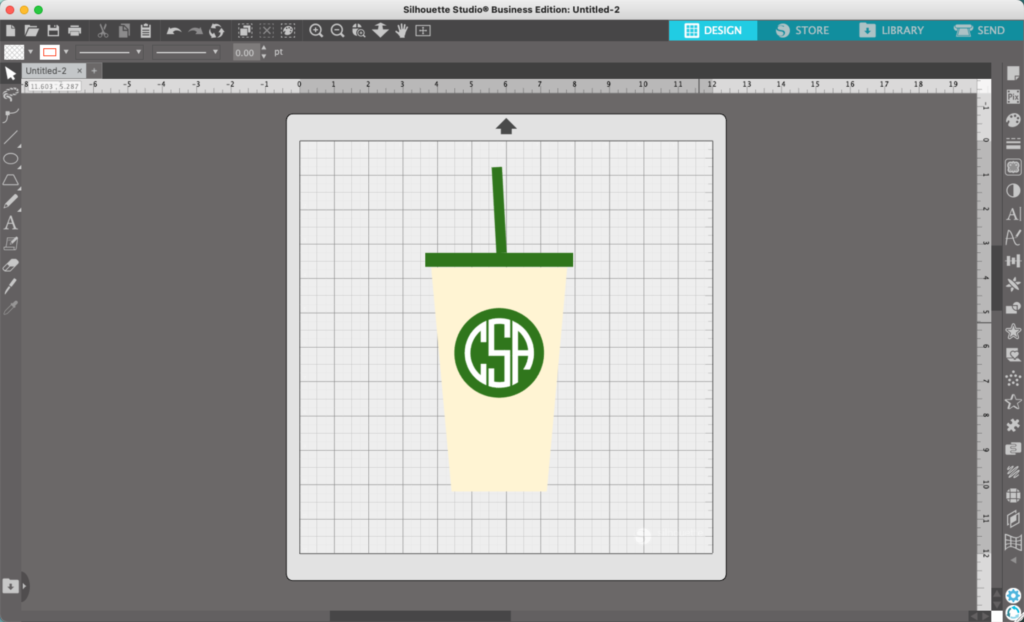
- In Silhouette Studio, use Flexishapes to draw a coffee cup shape. Flexishapes is the 6th tool on the left hand sidebar – and I used the 5th shape in the second row. It’s a sort of trapezoid shape.
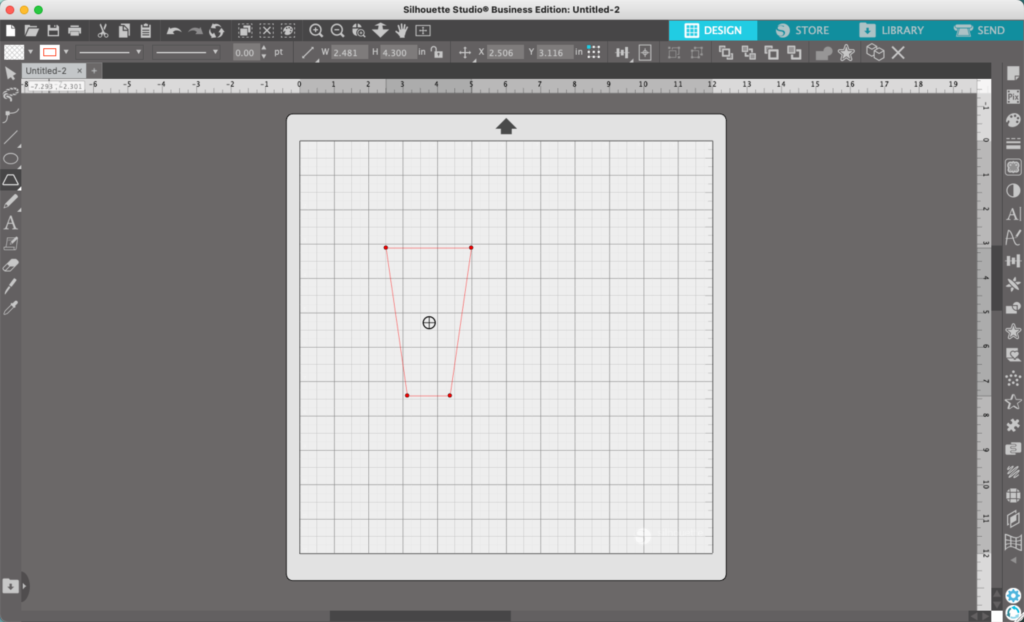
2. Drag the red dot handles at the bottom of the shape to widen or narrow the bottom.
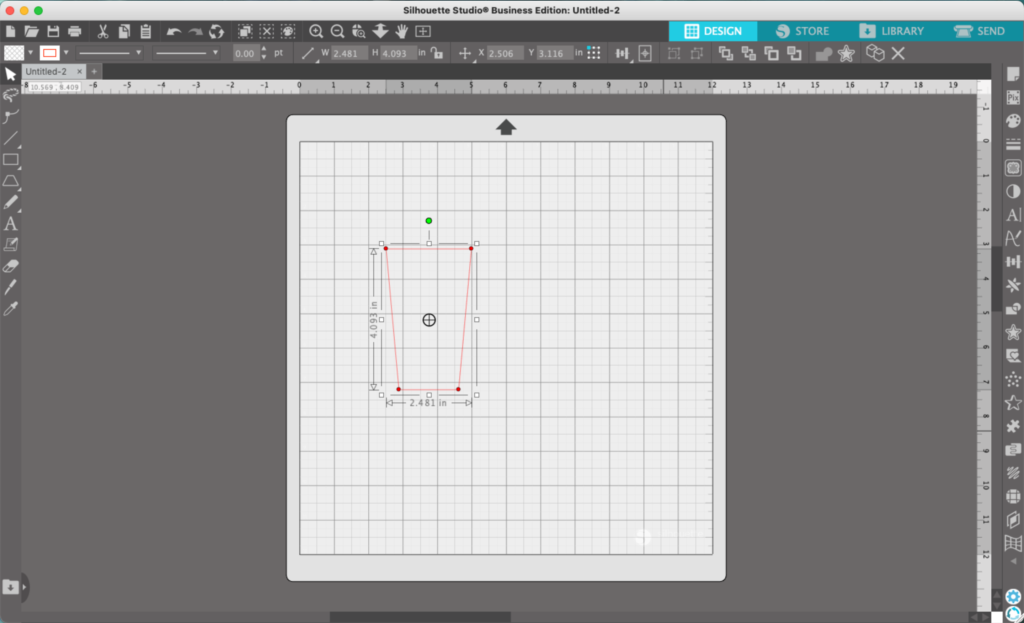
3. Use the Draw a rectangle tool (5th tool on the left sidebar) to add a horizontal rectangle to the top of the cup. This will become the lid.
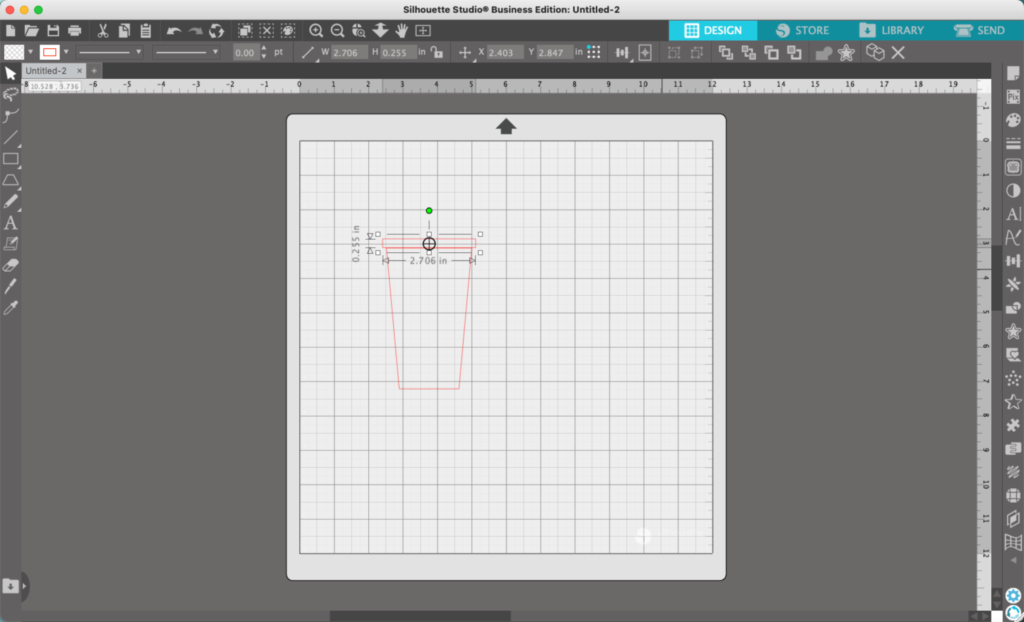
4. Now, add a vertical rectangle. This will become the straw.
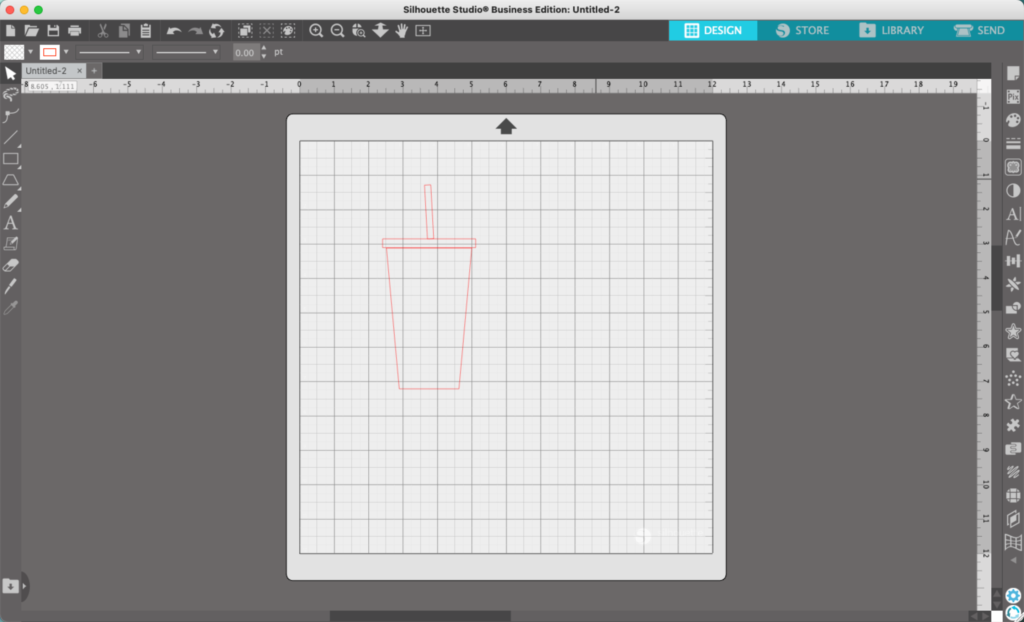
5. (Optional) Add a logo or detail to the center of the cup. In this tutorial, I’m adding a circle. Hold down the SHIFT key and draw a circle. This will make a perfect circle.
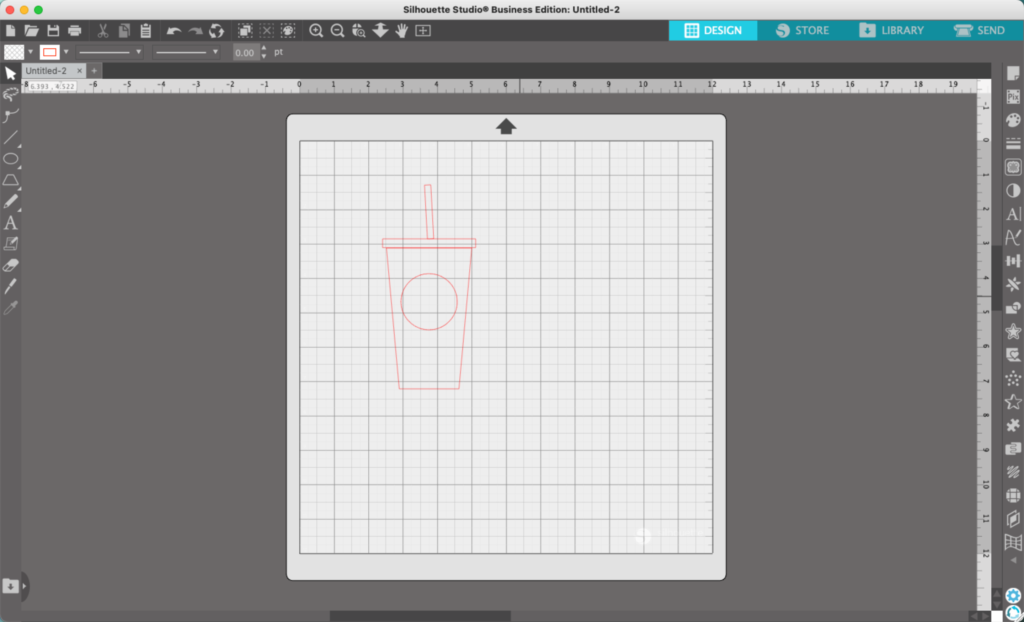
Now, I could choose to add my monogram. In this example, I’ve used Round Monogram Font.
6. Finally, add some color to the design.
You can leave the design as is, or add some text. (Font used: Drops.)
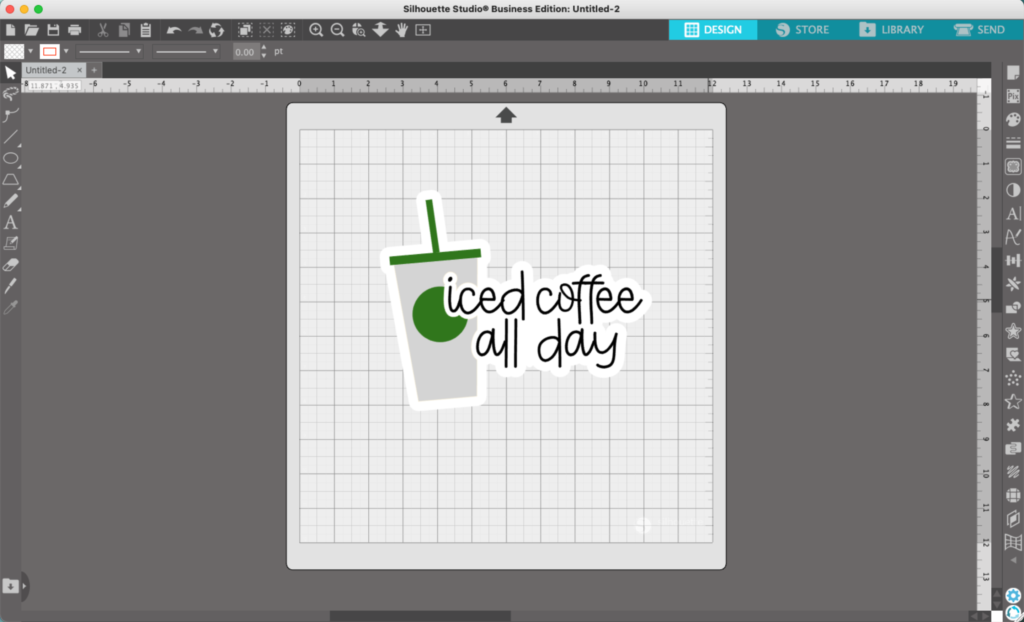
In this example, I’ve turned the text and coffee cup into a sticker. Want to do the same? Group all the text together, perform an offset, and move it to the back of the design. I’ve got more detailed sticker creating instructions in The Vault.
Ready to join us in the How to Design SVGs course? Enroll now.
