Tutorial: Summer Shadow Text
Back to: Free Tutorials
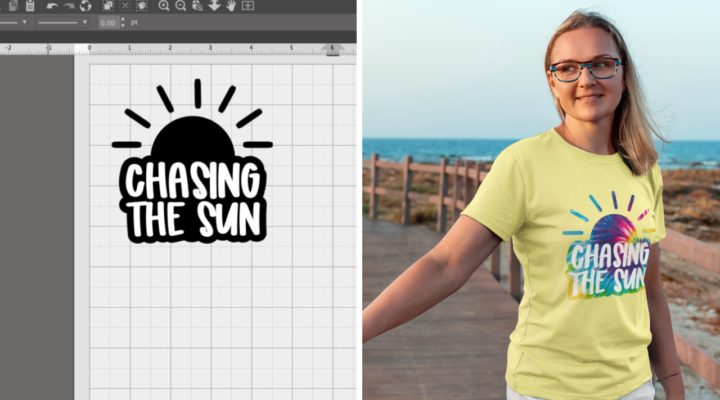
Looking to make a cool summer shirt? Let’s take a look at one way to create an eye catching design.
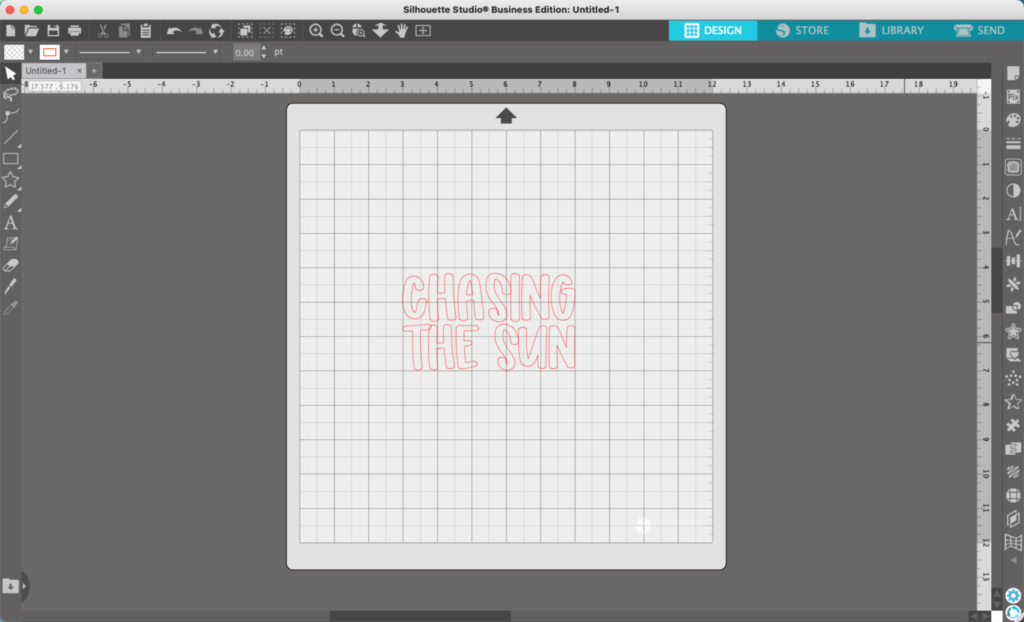
- In Silhouette Studio, type a summer-y word or short phrase in your favorite font. I used Buzzword for the font. You’ll notice that I entered my text in two separate text boxes. This makes it easier to align the text.
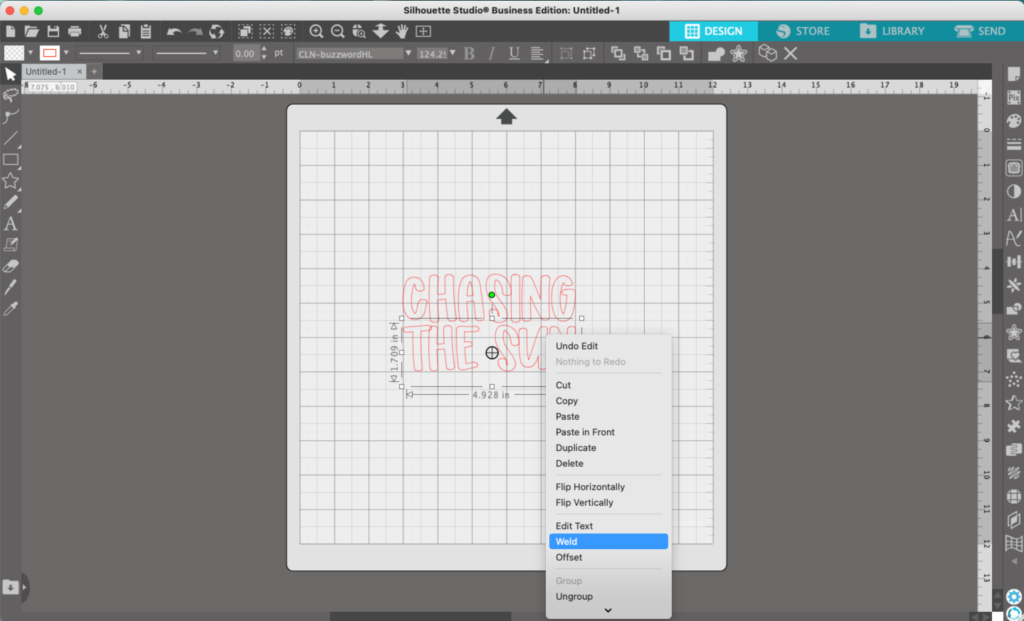
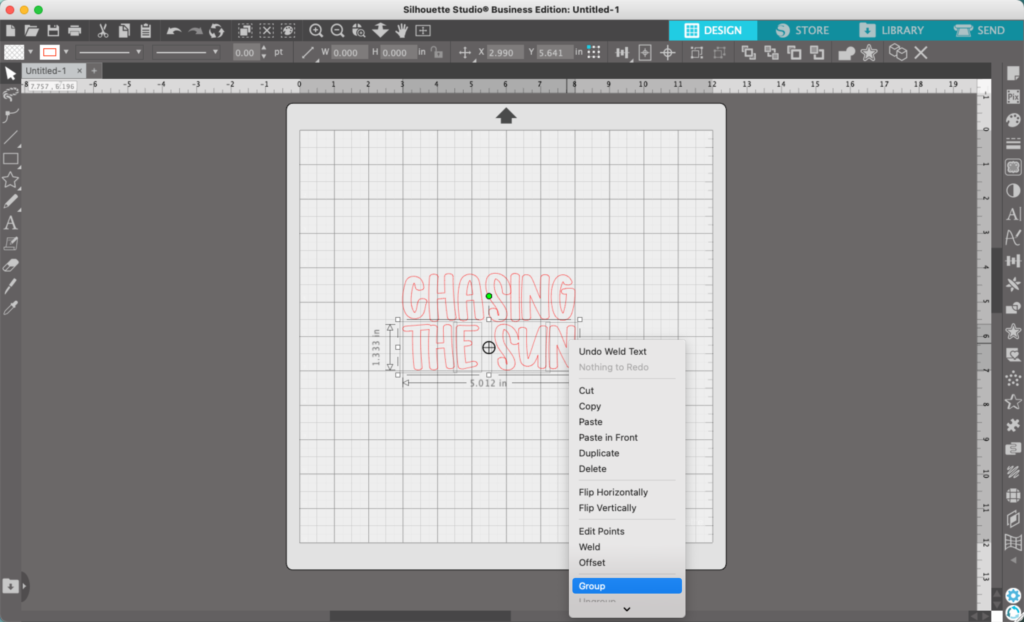
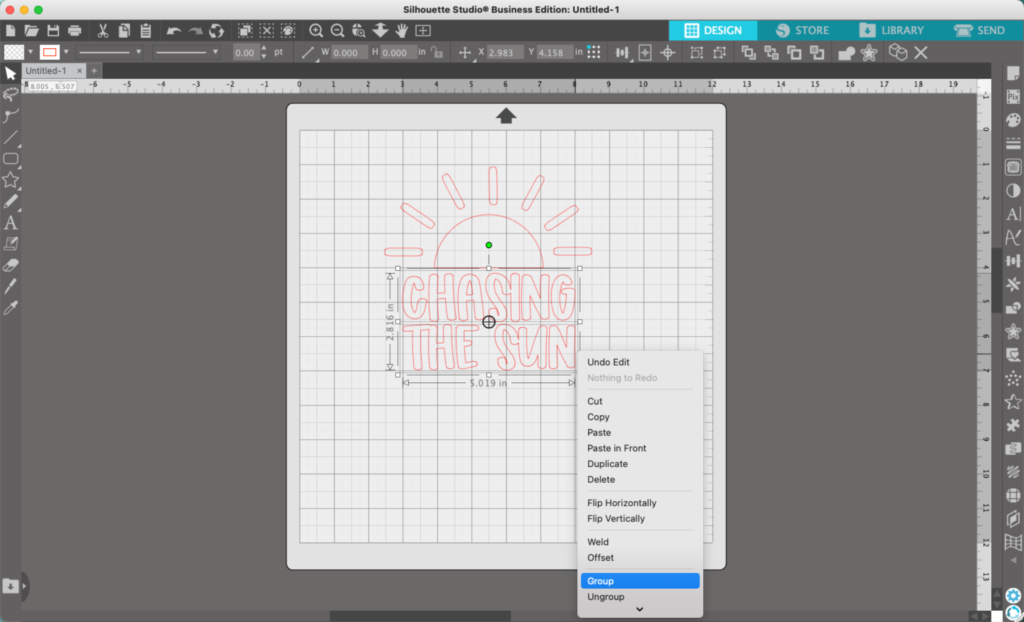
2. Right click and select ‘Weld’ to connect any parts of the letters that overlap each other. Depending on the font you chose, you may or may not need to do this. Right click again and choose ‘Group’ to lock the text back together.
3. Using the ‘Draw an Ellipse’ tool (5th tool on the left hand sidebar), hold down the SHIFT key and draw a perfect circle.
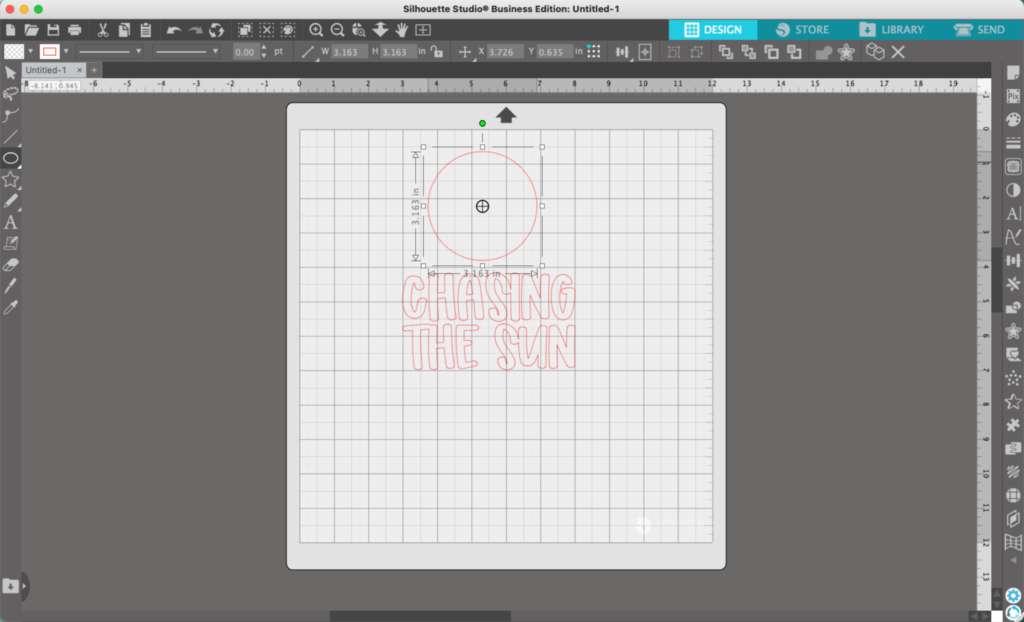
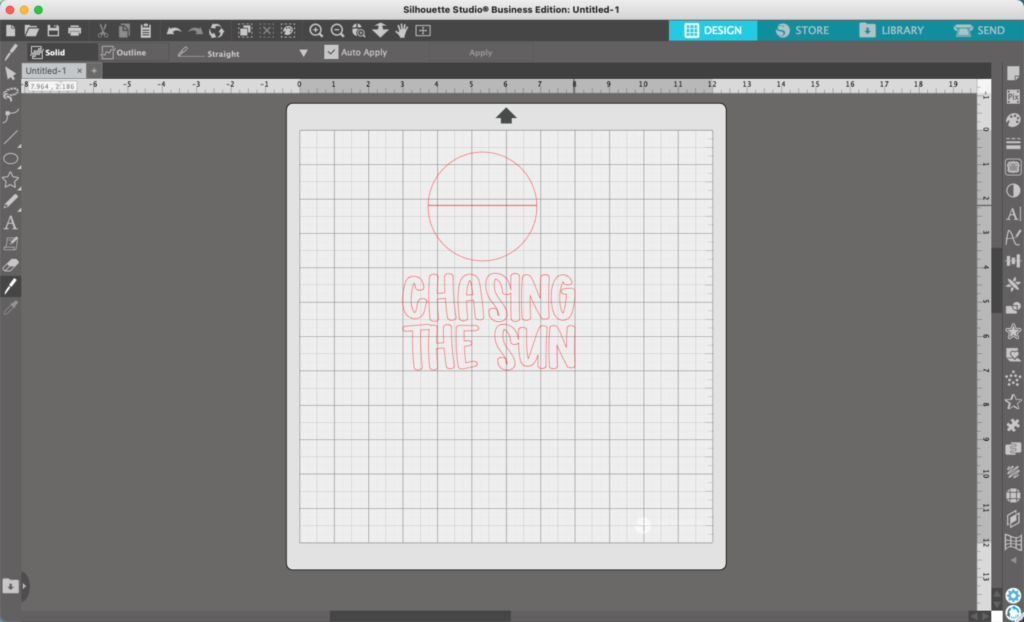
4. Use the knife tool (11th tool on the left hand sidebar) to slice the circle in half. Delete the bottom half.
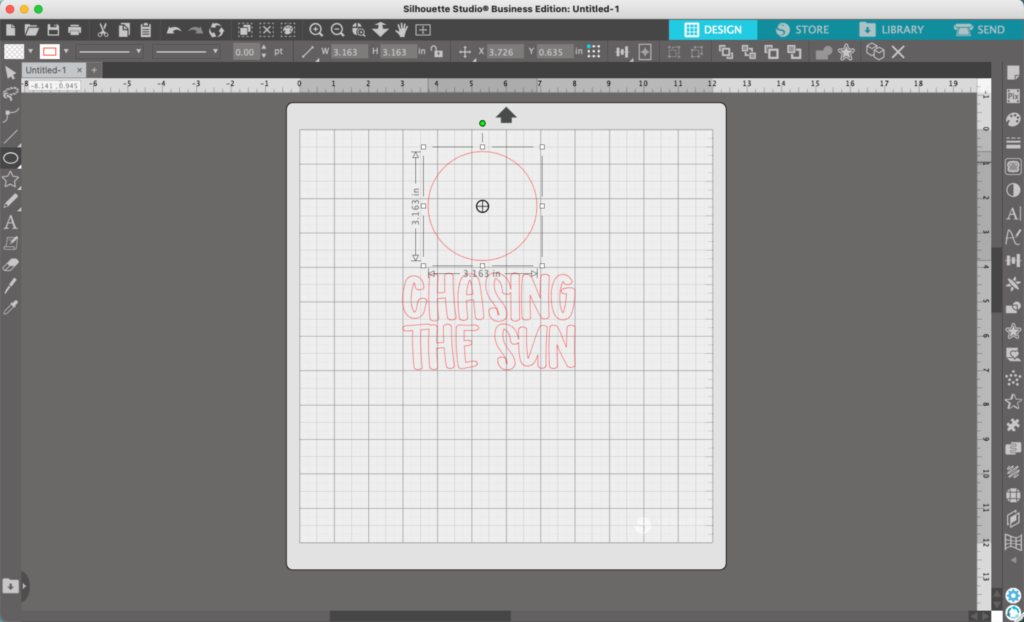
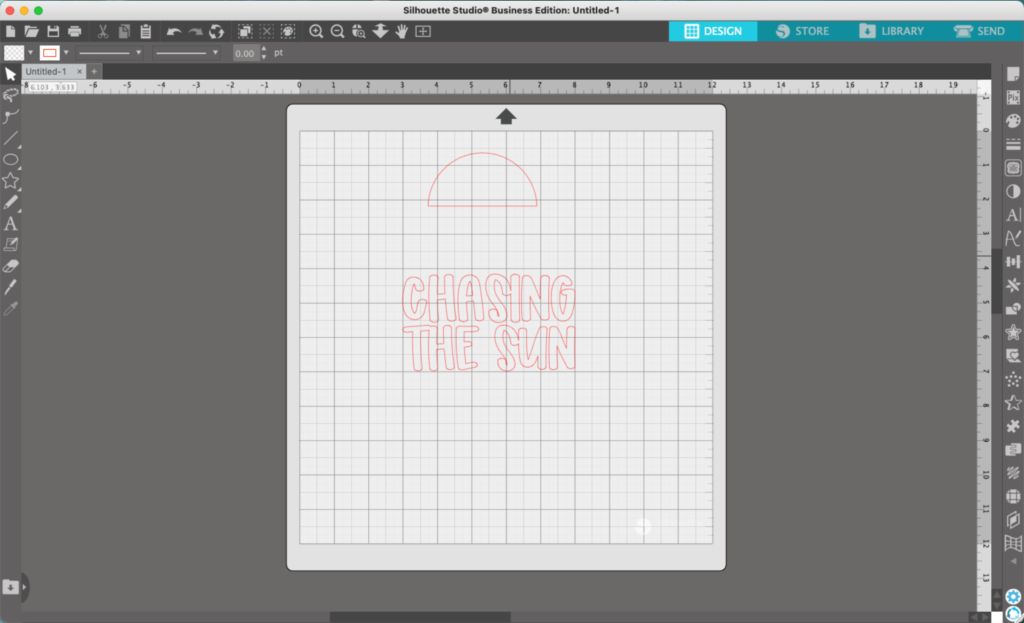
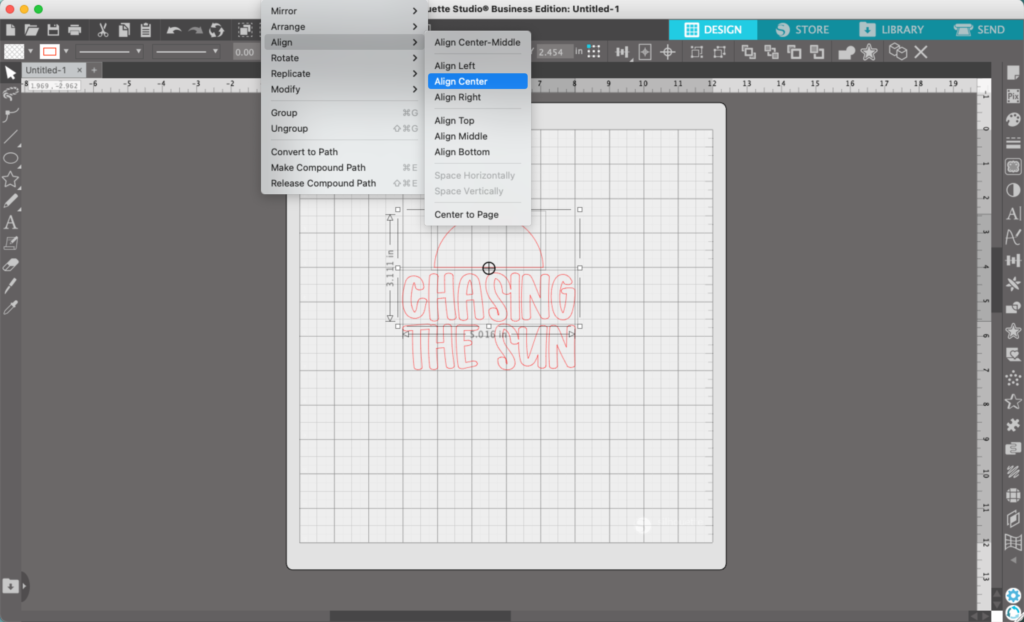
5. Move the half circle closer to the text. This is the sun in the design. You can perfectly align the sun by first holding down the SHIFT key, then clicking the top word, then clicking the sun. Then, navigate to the sun and navigating to ‘Object’, ‘Align Center’.
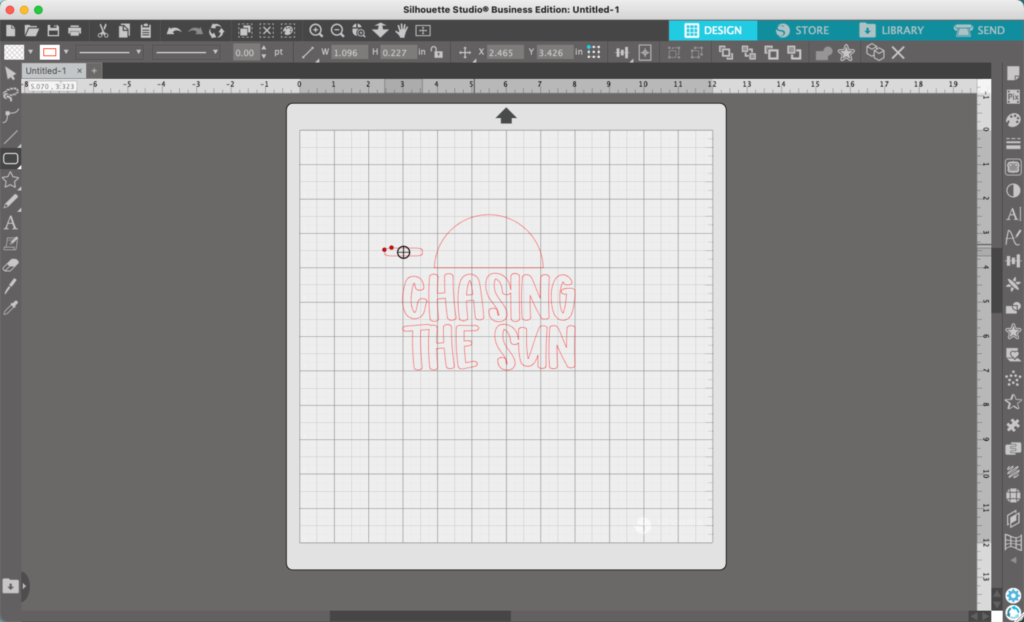
6. Now, use the Draw a Rounded Rectangle tool (5th tool on the left sidebar) to draw a sun ray.
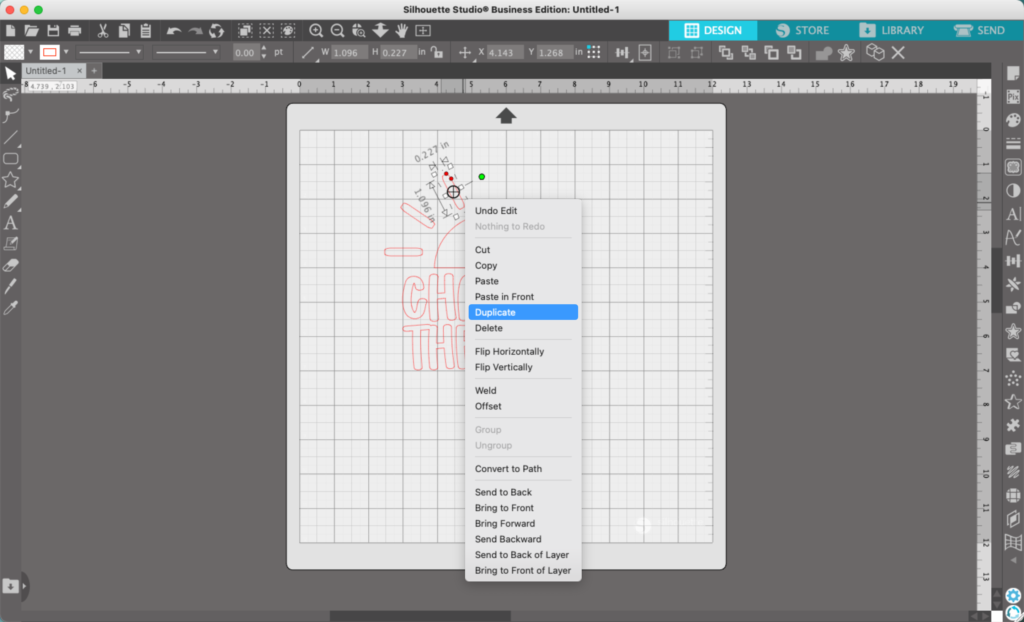
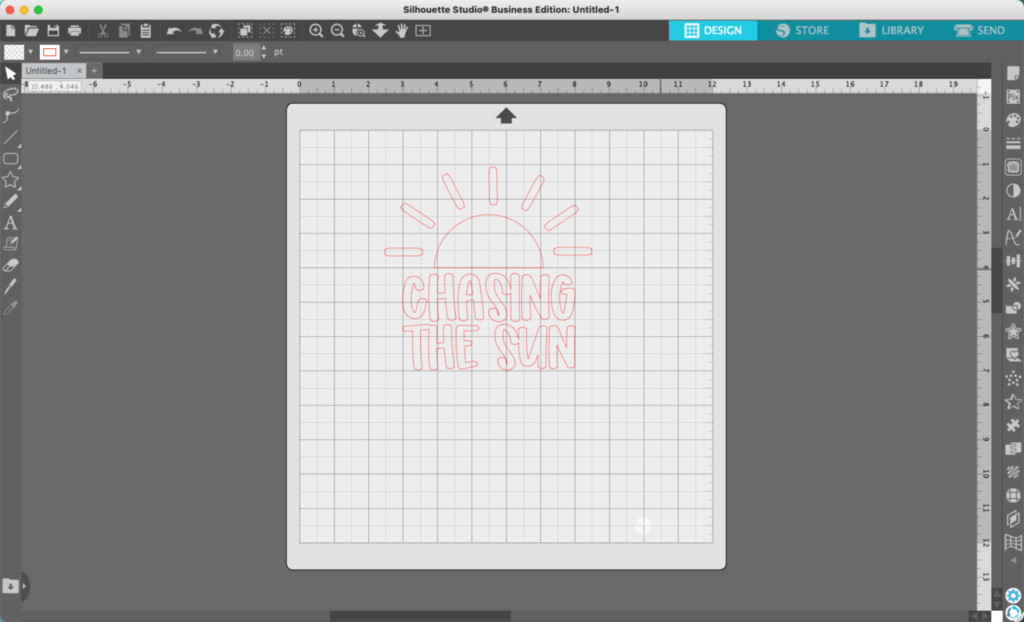
7. Right click on the sun ray and choose ‘Duplicate’. Duplicate it several times and drag the rays into place. You can rotate the rays using the green dot near each ray. Add as many rays as you’d like – you’re the designer!
8. Select your text. Right click and group it together if it isn’t already grouped.
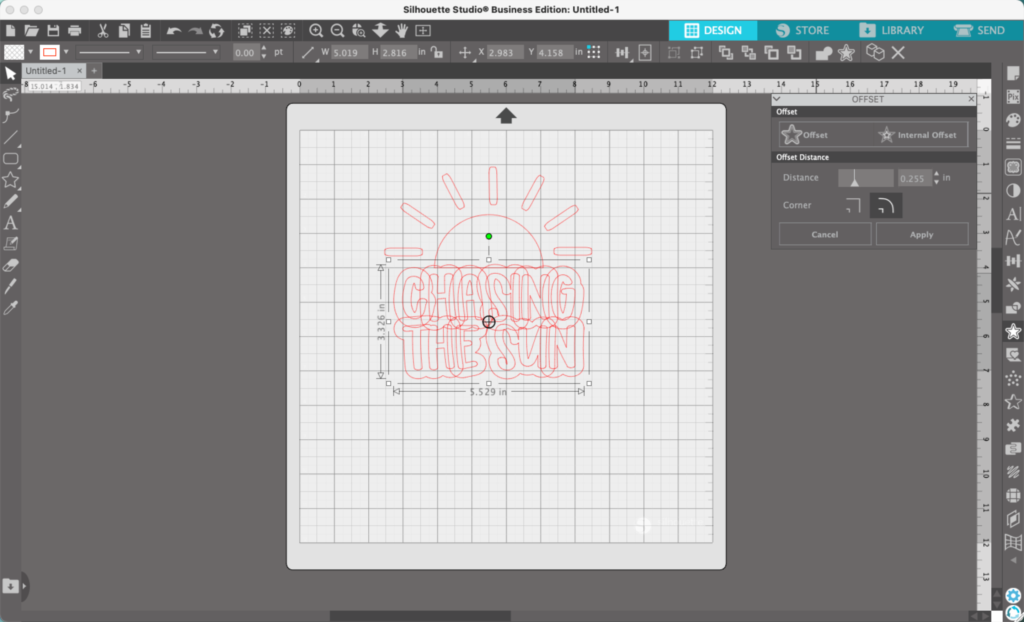
9. Navigate to ‘Panels’, then ‘Offset’. The offset panel opens. Perform an offset on the words. The exact amount will vary. Click the ‘Apply’ button.
10. I want to get rid of the cut out between the ‘E’ and the ‘S’. To do this, I draw an oval over the space, then weld it to the shadow.
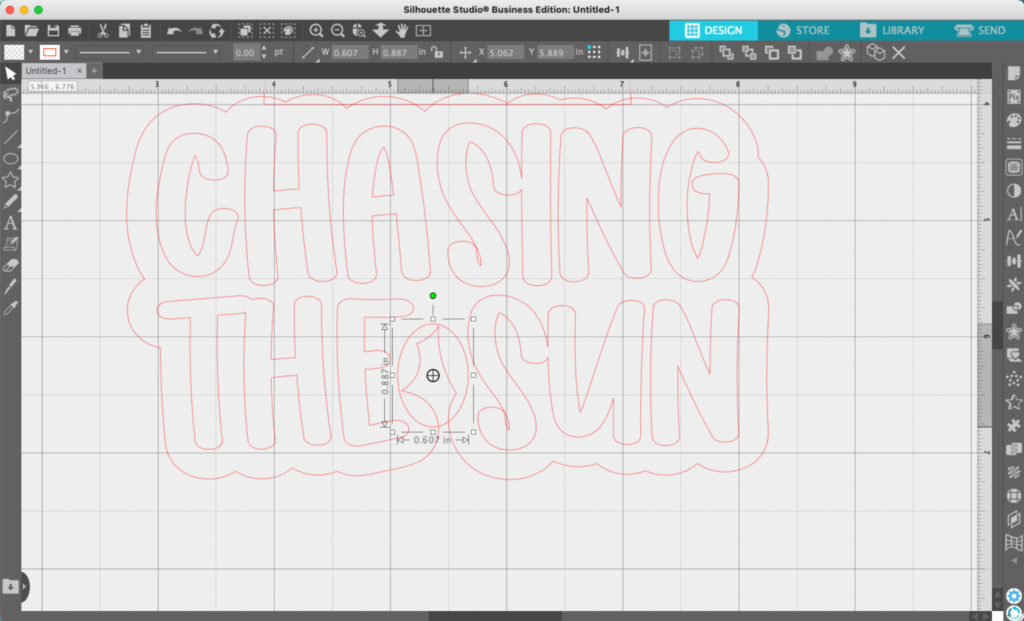
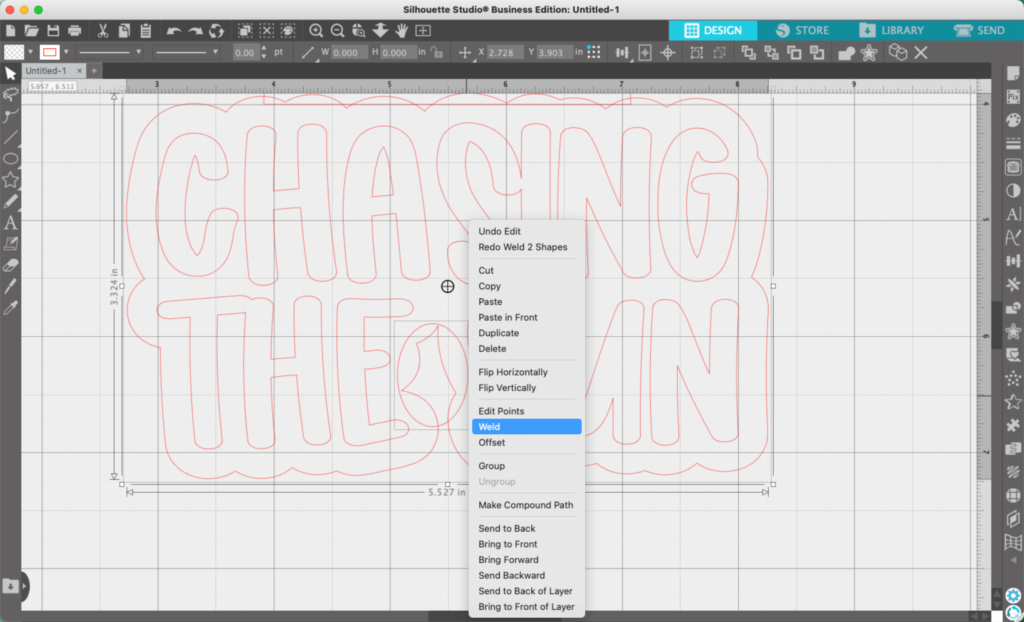
I repeat with another oval to finish eliminating the space:
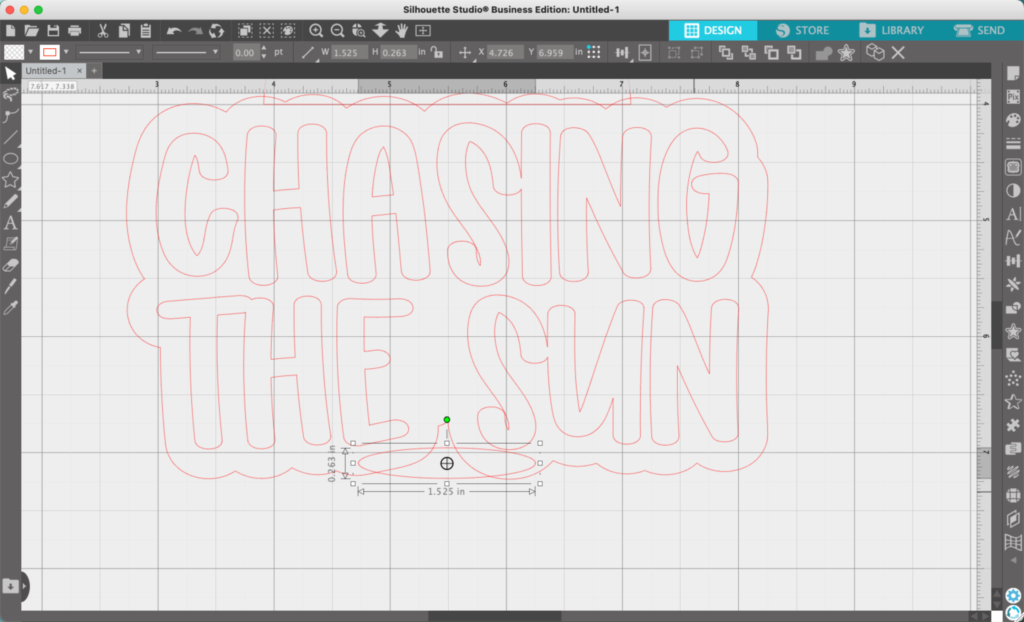
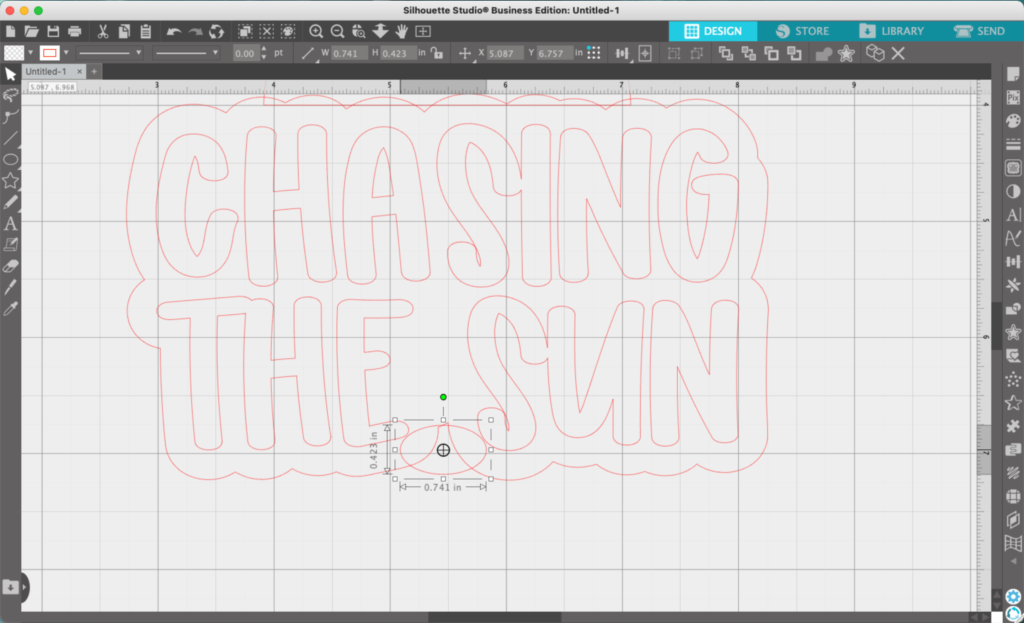
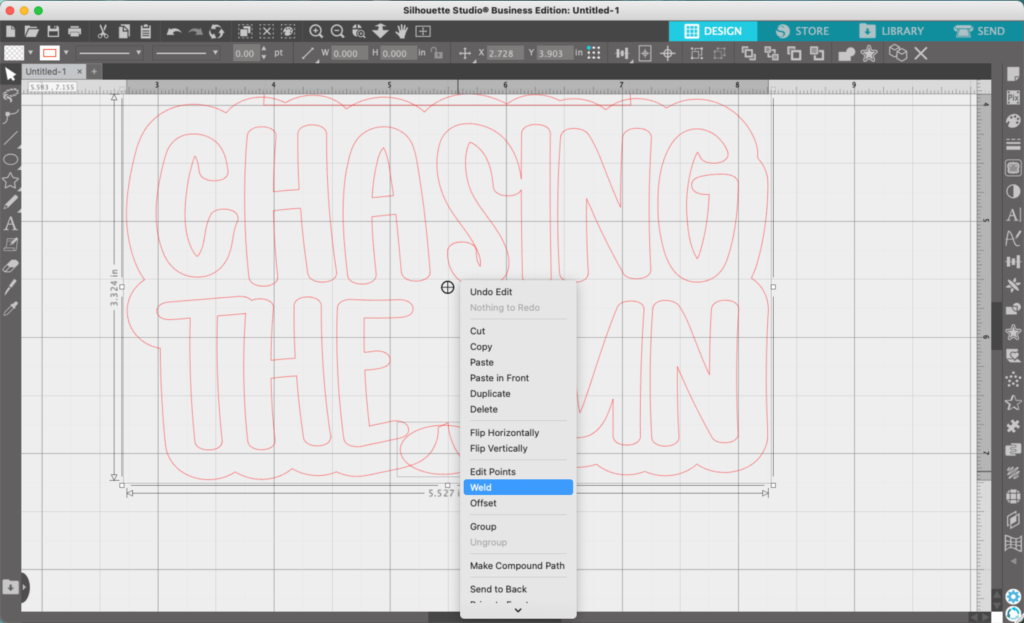
Delete any tiny bits that are left.
11. Next, hold down the SHIFT key and select the outline and the sun, then right click and ‘Weld’ them together.
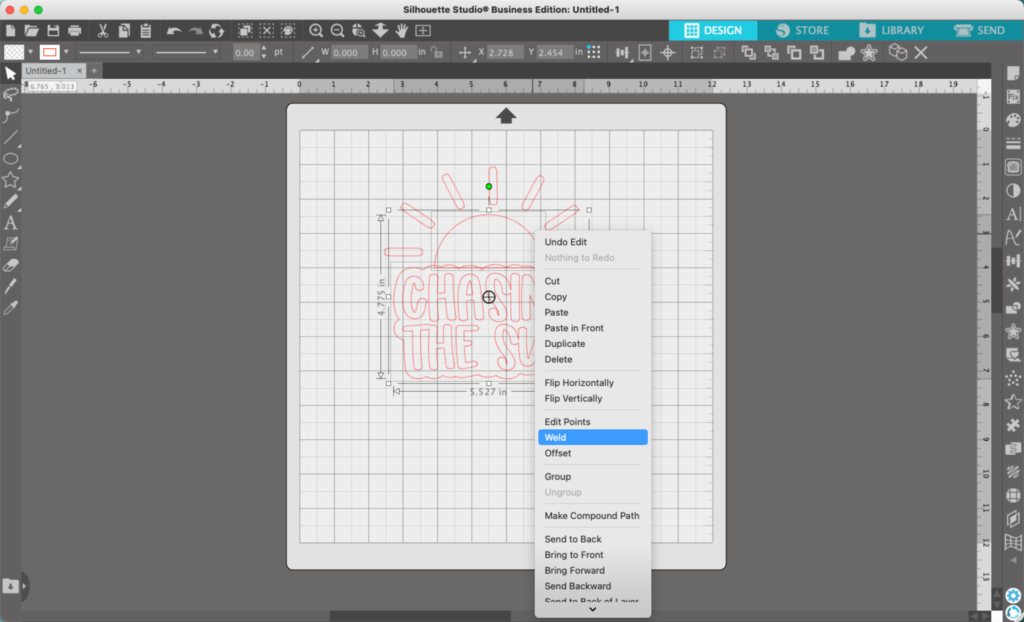
12. Again, delete any remaining bits that are left.
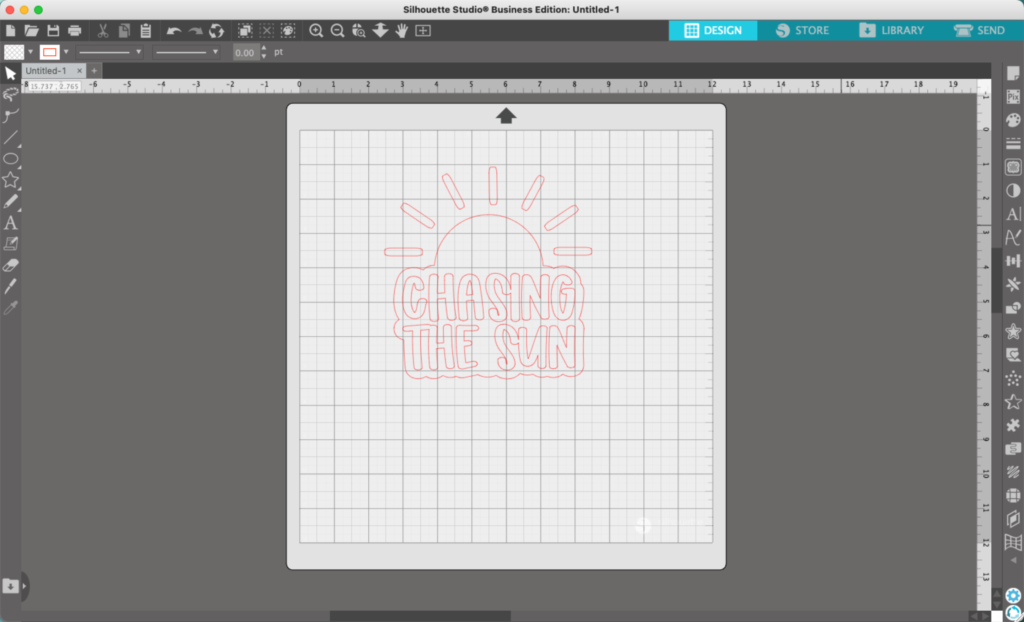
13. Add some color to the design.
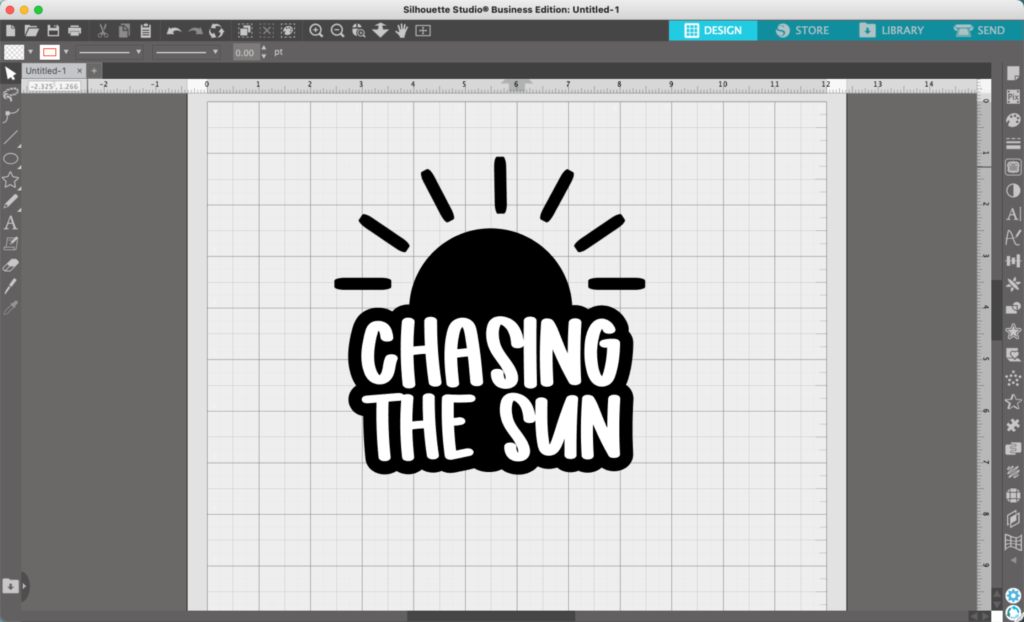
That’s it!
(Optional) If you are planning to cut the design in heat transfer vinyl, I recommend a few more steps:
- Click the text, and duplicate it. Move the copy off to the side.
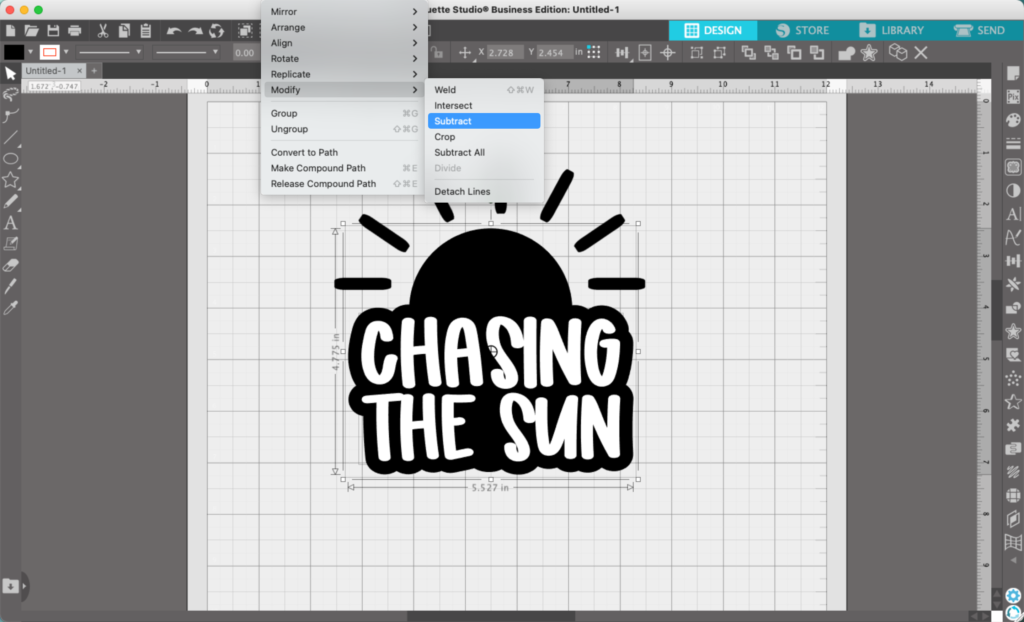
2. Hold down the SHIFT key and select the shadow, then the text. Navigate to ‘Object’, ‘Modify’, and ‘Subtract’. Then, right click and select ‘Group’.
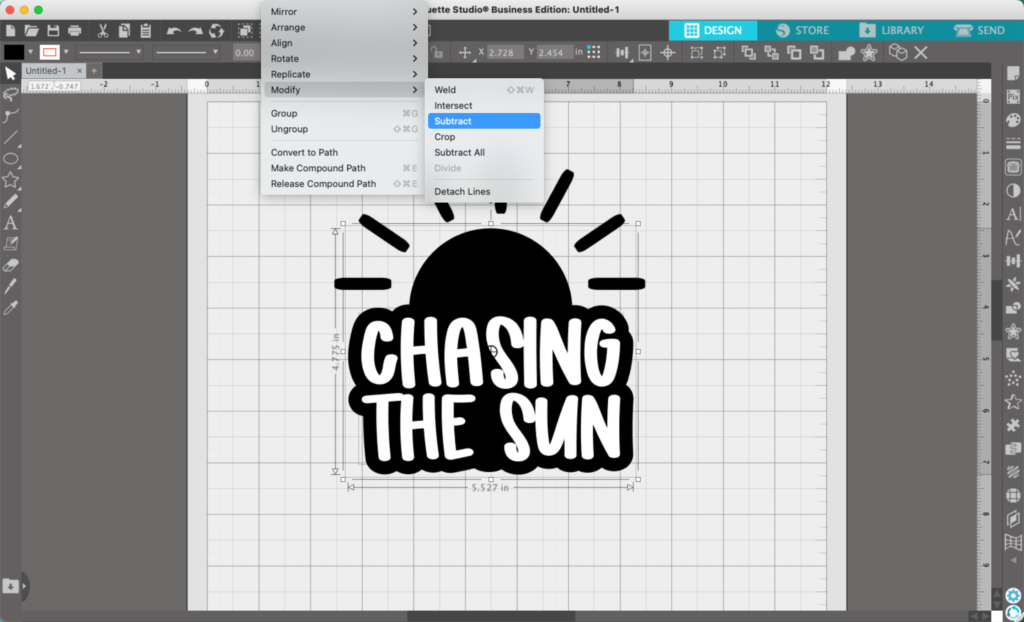
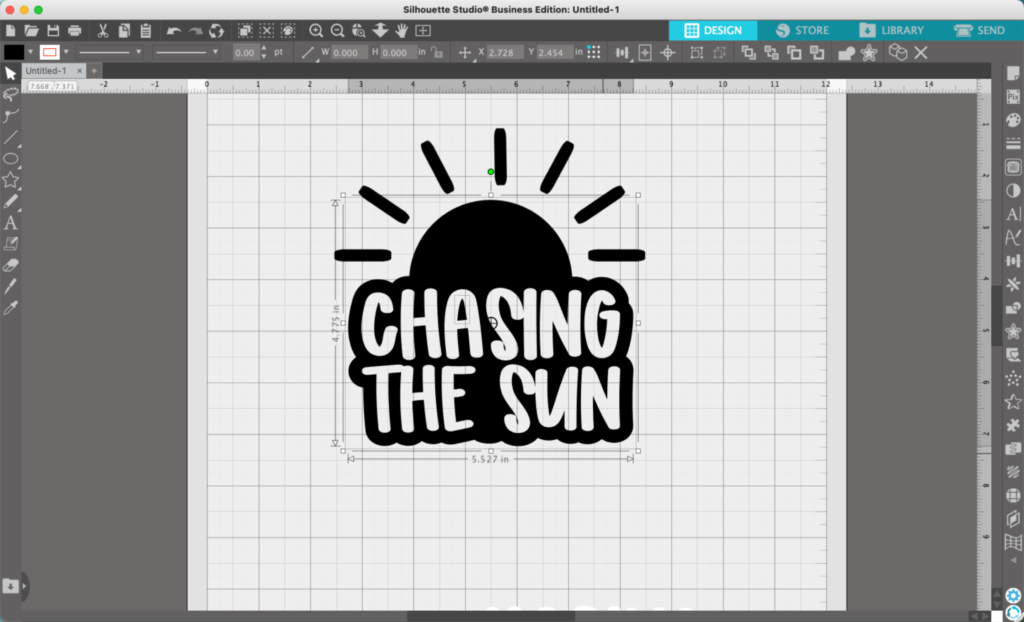
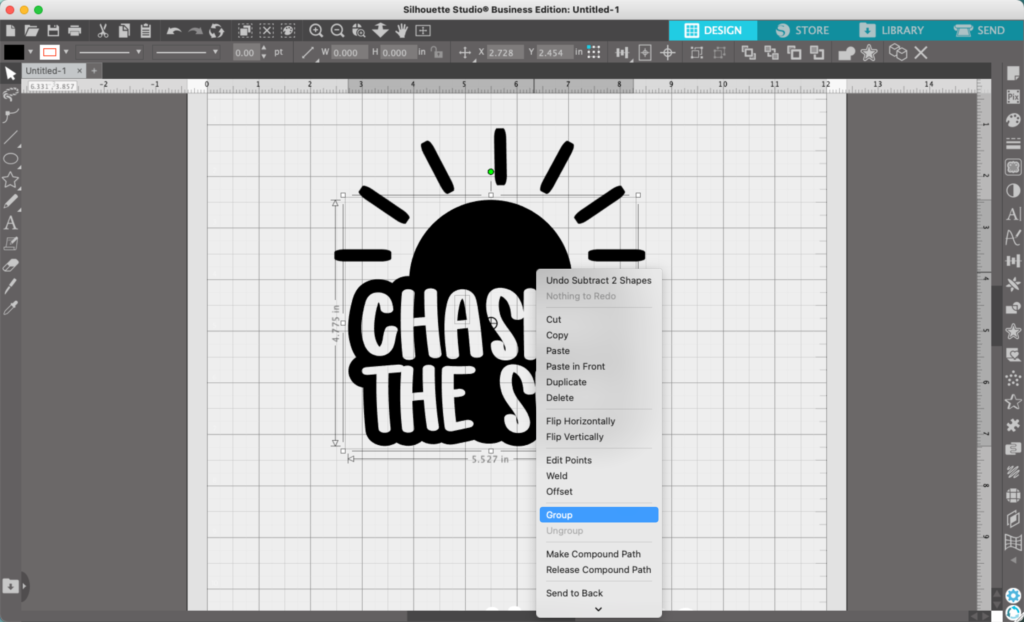
3. Finally, move the text copy back into place.
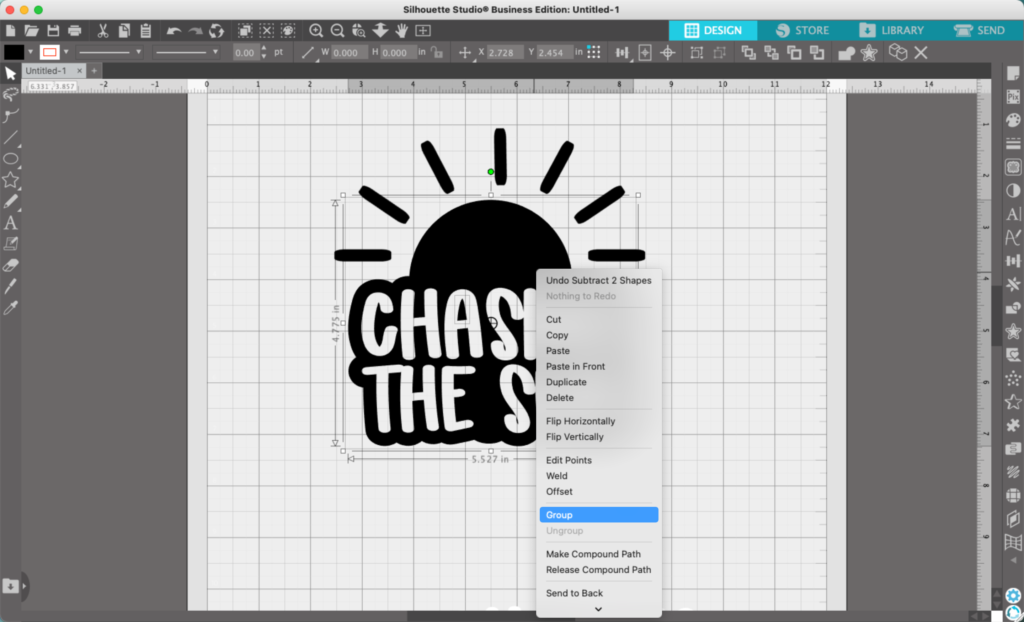
Why the extra steps? Two reasons: 1) It’ll save material. 2) When you apply the heat transfer vinyl to a blank, you won’t have to layer it. This will make the final product last longer.
Ready to join us in the How to Design SVGs course? Enroll now.
